Note: Spoilers follow, obviously. You’ve been warned. On this page:
Vault of Hephaistos walkthrough video Reaching the centre of the Vault Left path walkthrough Right path walkthrough Polyphemos boss fight
Immortals Fenyx Rising Vault of Hephaistos walkthrough video
Above you’ll find a full video walkthrough of the Vault of Hephaistos, solving every puzzle and finding every chest in the entire vault. But if you’d prefer a written walkthrough, we’ve got that too! Just scroll down.
Reaching the centre of the Vault
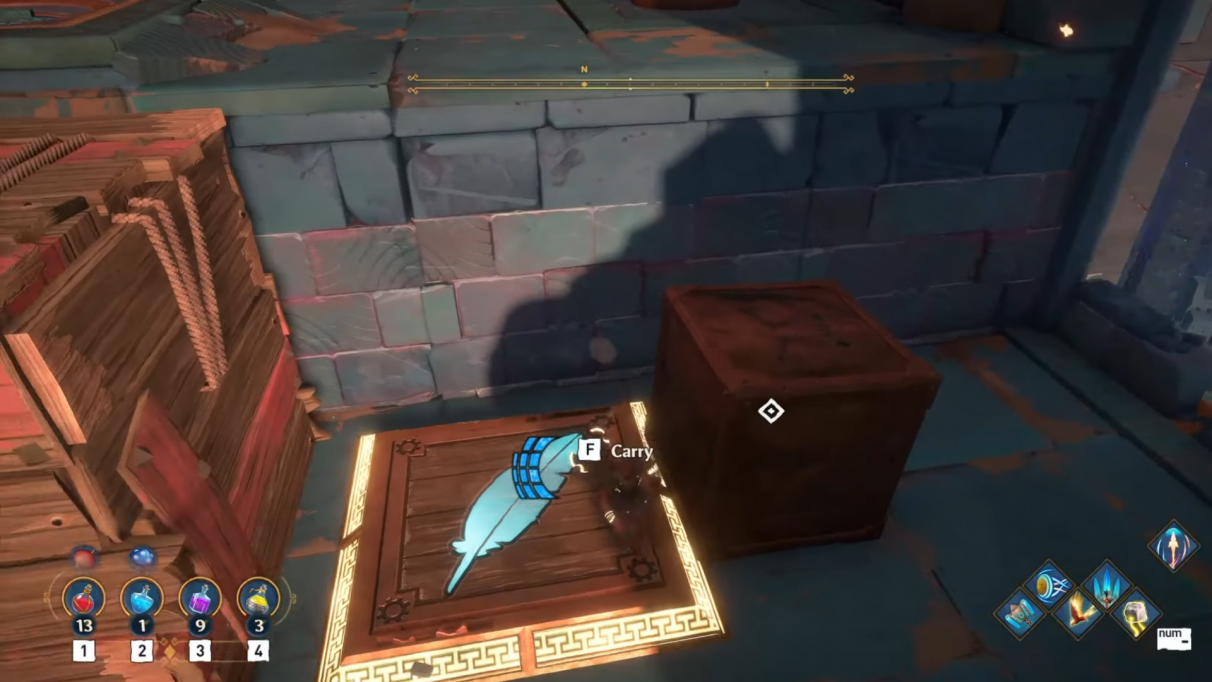
After you land in the Vault of Hephaistos, follow the path forward until you reach a gap too large to jump. To your right is one of many contraptions you’ll see throughout this Vault which dictates the flow of the nearby wind. Shoot an arrow at the target to reverse the air’s direction. Now you’ll be able to glide across to the far side of the gap without losing any altitude. That’s the key mechanic of the Vault of Hephaistos. Jump up the platforms to your left, and then reverse the air current on this side and glide back in the direction of the start of the Vault to reach the next platform. Climb to the top to reach the checkpoint, reverse the air current up here, and glide across to the centre of the Vault. There’s a ball to your left, but you can’t roll it away until you reverse the air current using the target to your right. This done, you can roll the ball up the ramp and into the tiny area opposite the lever. Now pull the lever to incinerate the ball and turn it into flaming coal. Use Herakles’s Strength to throw this flaming coal into the “goal” across the gap in front of you, just like how you restarted the Forge in the main world in order to get to the Vault.
Left path walkthrough
A cutscene will ensue, where you discover that you’ll need to collect various aspects of Hephaistos’s essence in order to make him whole. There are three more aspects left: one to the left, one to the right, and the last to be collected in the centre at the end. Let’s go left first. Each path starts with another area where you can incinerate a ball into coal to throw into the centre, but you need to complete the section in order to access the ball to incinerate. So, move past the incinerator, up the ramp, and press the button to initiate the first puzzle. Here you can use the lever and the air current changer to push the giant wooden cubes left or right. After spawning, the cubes will be pushed to the left, which is ideal for the near one as it’s now on its pressure plate - but not ideal for the far cube, because the plate is on the right. To fix this, push the heavy cube next to the near wooden cube so it’s trapped there, and then reverse the air current and pull the lever. With both wooden cubes in the right place, pull the lever again to trap everything in place, and then push the heavy cube onto the weighted pressure plate at the end to get to the next puzzle. First thing to do at the next section is to head around to the left, because behind the left wall is a chest you can open. Be careful of the current as it’ll try to push you off-course while you glide. But once you’ve opened the chest, return to the checkpoint. Press the button and you’ll see a very similar puzzle to the one before. I’ve bullet-pointed the steps below (WC means Wooden Cube, HC means Heavy Cube):
Reverse the air current. Push HC to trap first WC on pressure plate. Reverse air current and pull the lever. Push HC to trap second WC on pressure plate. Reverse air current and pull the lever, then pull the lever again at the right moment so that the final WC comes to rest on the centre pressure plate. Push HC onto weighted pressure plate.
If you follow these steps correctly, the barrier to the next area will open. In the final puzzle section, after pressing the button to spawn everything in, roll the ball up the slope. Then jump over to the lever. Make sure the air current is blowing right, then pull the lever. This will push the wooden cube nearest you. Pull the lever again when the wooden cube is in the perfect position to create a path from the ball to the lever. Then roll the ball over the cube onto the next platform. Now head down and push the heavy cube just to the right of the final pressure plate, so that an air current heading right will push the wooden cube onto the plate. That done, head back up and pull the lever to blow both wooden cubes onto their respective pressure plates. Then pull the lever again to lock it in place. Now push the heavy cube onto the weighted pressure plate to raise the bridge across. Roll the ball across this bridge and onto the other side. Finally, reverse the air current to push the last wooden cube to the left, completing the ball’s path to the end. Roll the ball into the socket to finish the section. A new ball will spawn in front of you. Push it down the path until you reach the incinerator at the beginning. Convert the ball to coal and throw it into the central goal to obtain the second bit of Hephaistos’s Essence.
Right path walkthrough
Before you head to the right path, there’s a chest in the centre you can pick up. From the incinerator, look towards the near right-hand corner of the central platform and you’ll see a tiny ledge. Head over to that ledge, jump down onto it, and you’ll see a couple more ledges to jump onto. The final ledge has a hidden chest you can pick up. Now head to the right path and past the incinerator. Follow the path until you reach a gap pointing east. Use the target behind you to ensure the air current is pointing east, then glide across. Time your next glide so you aren’t intercepted by the obstacles, and do the same with the lasers in the next section. Glide all the way across to the west. For this next obstacle course I’ve found it easiest to jump onto the top of the first head that appears, and then jump and glide over the tops of the other obstacles to the end (consult the video walkthrough for a demonstration!). Climb the platforms up and reverse the air current at the top. Glide through the obstacles in the next section, and then glide all the way back over to the east side. Now you have to climb on top of the heads in order to reach the next platforms. Do this until you reach the very top. Before you leave, go to the far edge and look down for a hidden ledge with another chest to open. Once it’s opened, get back to the top, reverse the air current, and glide over to the far west side, but avoid the patches of corrupted air between you and the next platform. Head through to the next checkpoint, where you’ll see a button. Reverse the air current, then push the button to spawn a ball which will roll back the way you came. Once the ball is trapped in the 2x2 area surrounded by slopes, pull the lever to the right to lower the 2x2 area to the very bottom. Follow it down, then roll the ball back to the incinerator. Convert the ball to coal and throw it into the centre.
Polyphemos boss fight
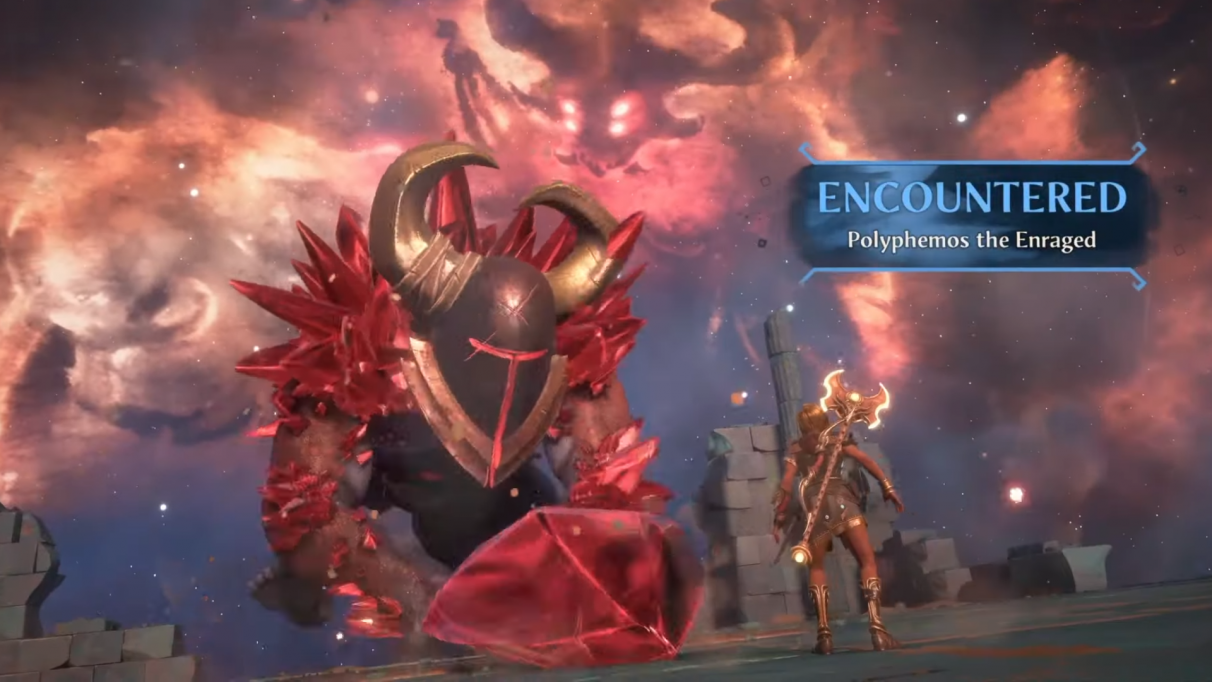
Completing both side paths will activate air streams that carry you up into the centre. In the centre is an even bigger air stream that carries you to the very top, but there are several levers you need to pull along the way (and one chest you can open, too). Pull the bottom lever, then glide up to the opposite lever above and pull it. Then turn around and glide up again to the opposite lever above and pull. This time, jump down to the left and pull that lever; then glide up to the lever opposite, and then the opposite lever again. Pulling this final lever will lower the barrier at the very top, but before you go up there, jump down to the right from the last lever and you’ll find a little platform with a hidden chest to open. Now head to the top, follow the path round and you’ll meet the boss of the Vault of Hephaistos: Polyphemos the Enraged. Polyphemos uses almost exclusively unblockable attacks, so you’ll need to dodge lots in this fight. Thankfully they’re all fairly mundane and easily avoided attacks, apart from one attack where he stomps the ground, creating a purple area around him which damages you over time if you stand in it. So when he uses this move, stay back and use ranged attacks until it dissipates or Polyphemos moves away from the purple area. With Polyphemos defeated, glide across to the west to retrieve the last aspect of Hephaistos’s Essence. And that’s all there is to breaching the Vault of Hephaistos and retrieving the titular God’s essence. But there’s plenty more to do in the game, so perhaps you’ll want to take a look at our other guides, starting with our list of the best Immortals Fenyx Rising skills and Godly Powers to unlock early on!